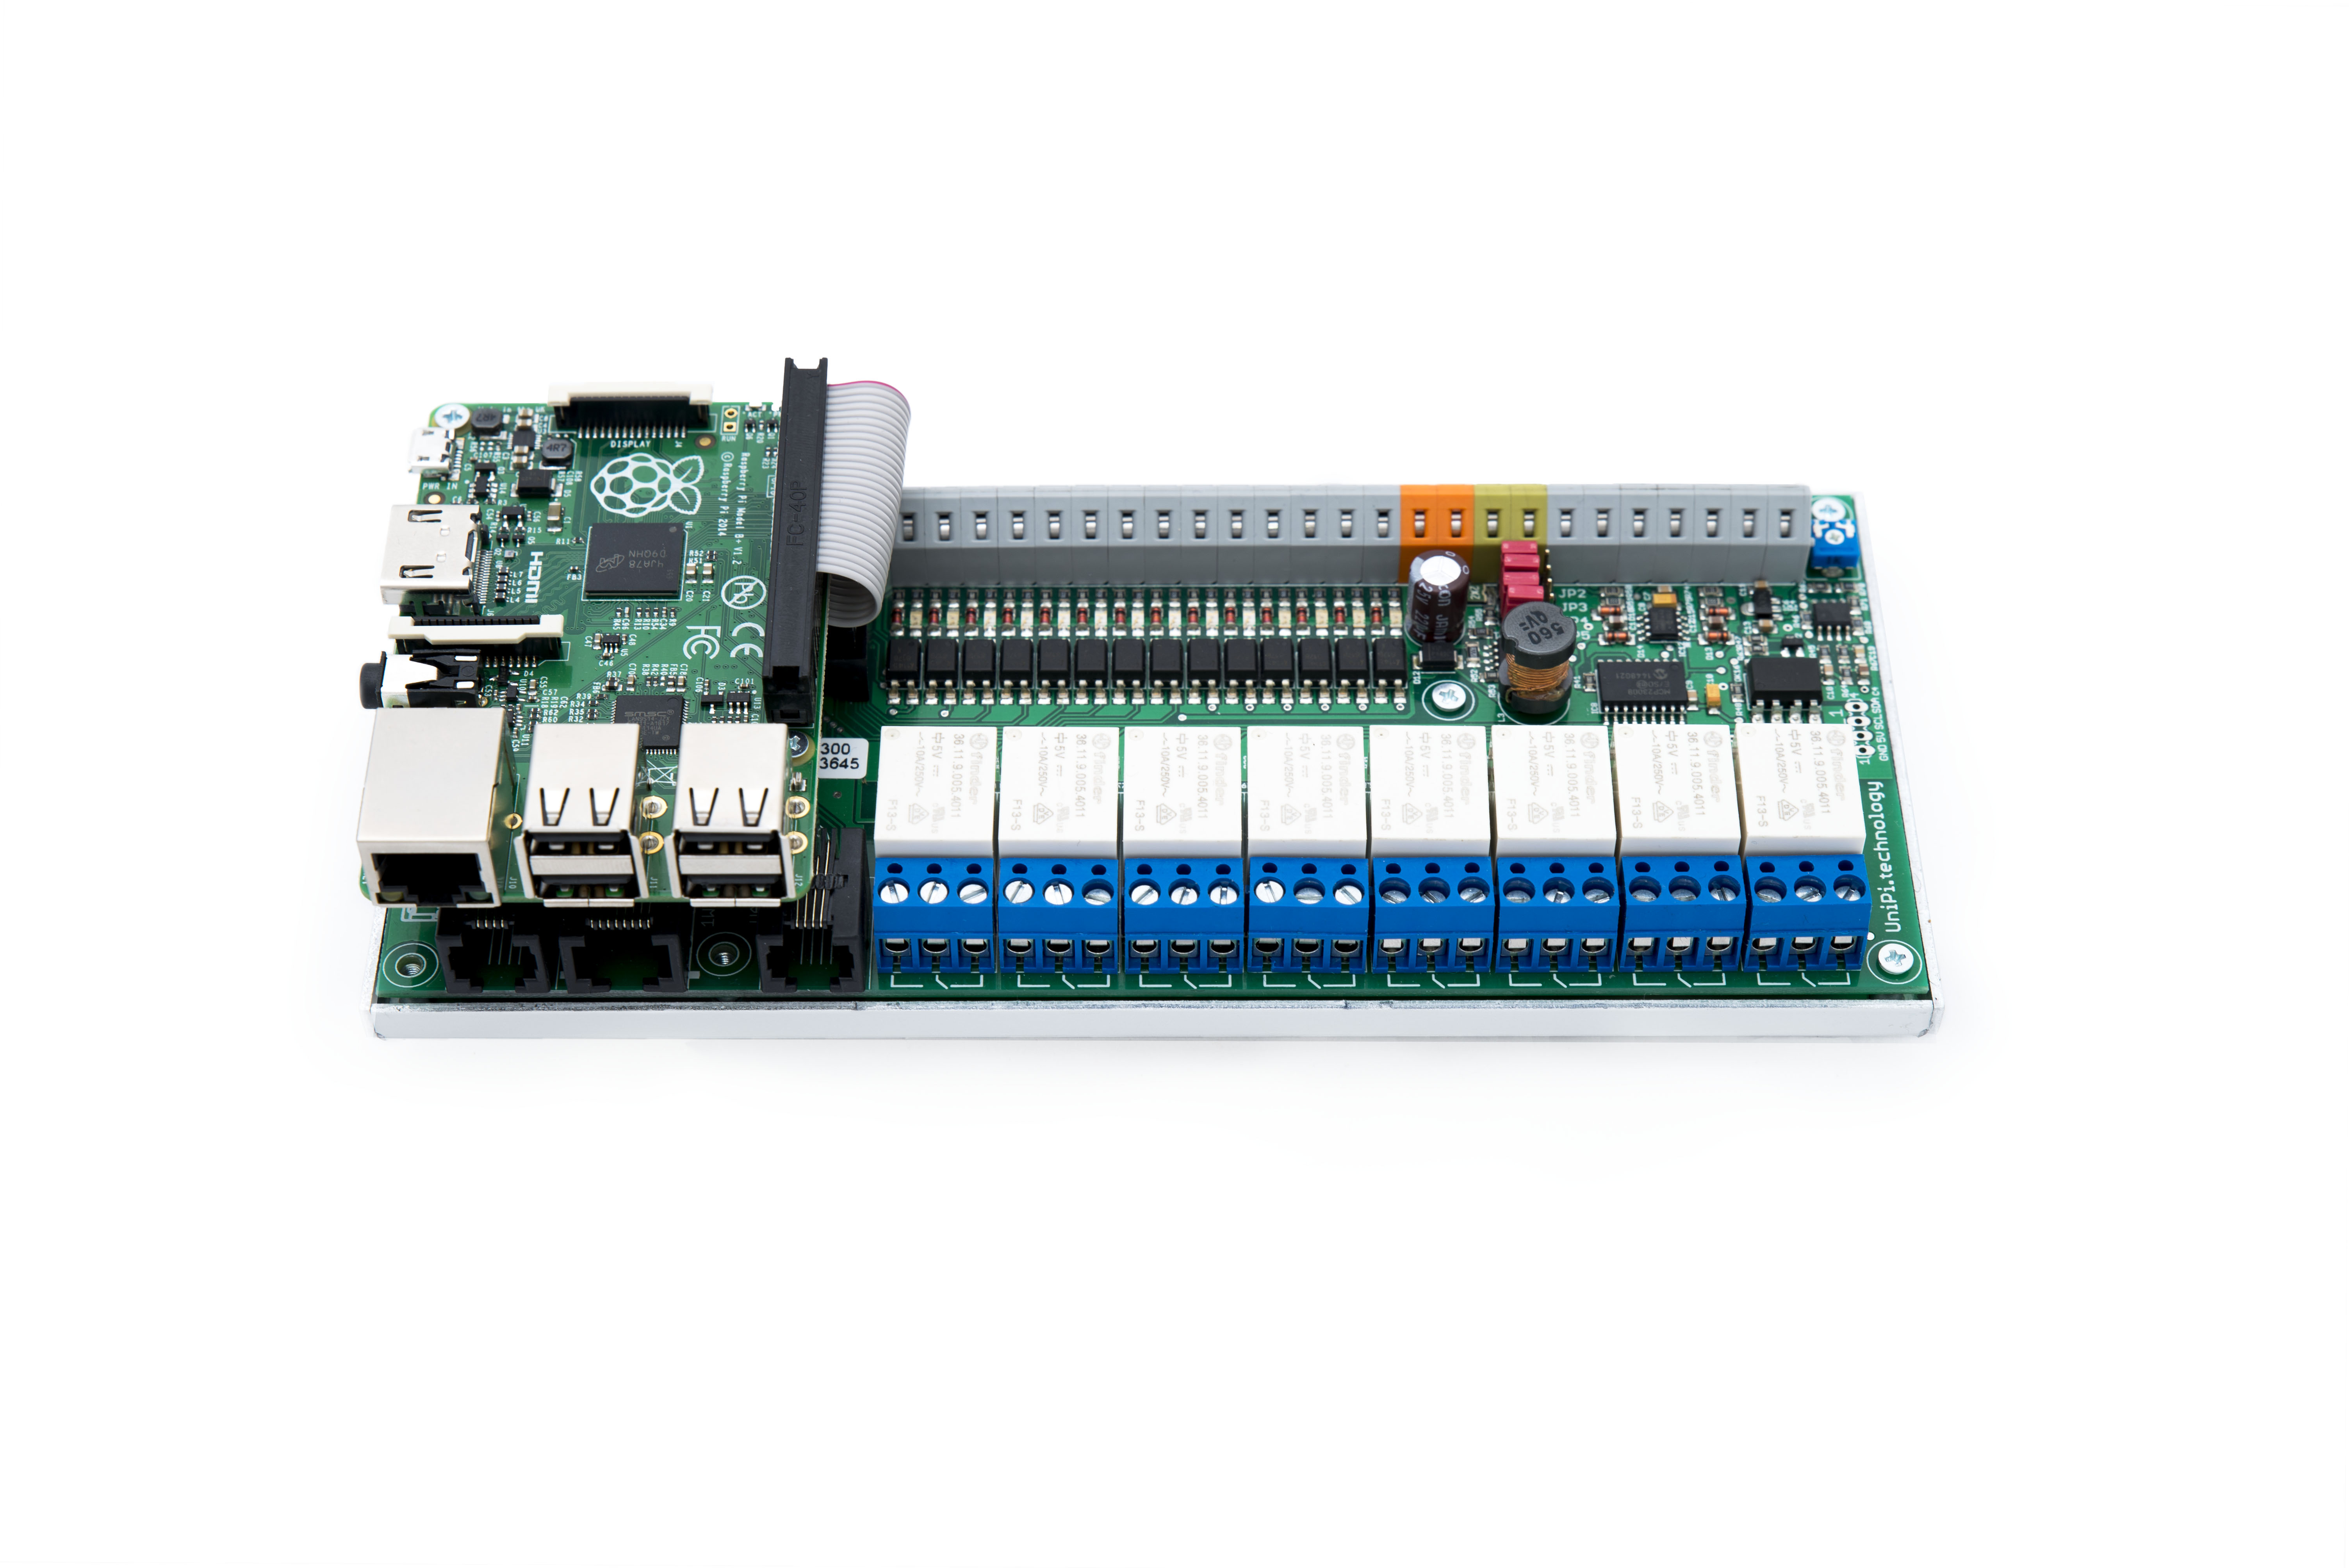
This post is intended for CODESYS beginners, it aims to give a step by step guide to creating a CODESYS project for the Raspberry Pi with the PiFace Control and Display add on board. (I am actually using PiFace Control and Display 2, but it appears to be compatible).
Start by creating a new standard CODESYS project.
Select the CODESYS Control for Raspberry Pi as the Device and ST as the programming language
The PiFace Control and Display module is interfaced with using SPI, so we need to add two devices to the device tree, first an SPI Master and then the PiFace Control and Display device. To do this right click on SPI in the device tree and select Add Device
Choose the SPI Master
Click Add Device, then without closing the dialog select SPI_master in the device tree, and then in the dialog select PiFace Control&Display
Click Add Device and close the dialog.
IMPORTANT: PiFace Control and Display operates on SPI port 1, and so the SPI_master device needs to be reconfigured to use this port. To set the port open the SPI_master device in the device tree and change the Value of SPI port as shown to ‘/dev/spidev0.1’.
At this point we have a CODESYS project with all of the drivers installed to operate this display and to read the buttons. Adding the IO device has added a function block called PiFace_Control_Display of type PiFaceCaD. Unfortunately it can be very hard to work out how to use this function block with the version of the library containing this block no documentation is installed and commenting of the function block is hidden. We can find some information by switching to the Predefined Professional Feature Set (Tools->Options->Features->Predefined feature sets…->Professional). Now when the Library Manager is opened in the project additional libraries are visible, in particular we are interested in Raspberry SPI PiFace CaD.
PiFaceCaD
In the Raspberry SPI PiFace CaD library we can see the definition of the PiFaceCaD function block type. The function block has just a single VAR OUTPUT, bySwitches.
The rest of the features of the function block require the use of the Object Oriented features added to IEC61131-3 third edition. The documentation below is extracted directly from the Raspberry SPI PiFace CaD library (With a few corrections)
METHOD Clear
This method is used to clear the display
return value: none
return value: none
METHOD DefineCustomBitmap
This method is used to define a custom bitmap, up to 8 custom bitmaps can be used simultaneously return value: none
|
Name
|
Type
|
Comment
|
|
byLocation
|
BYTE (0..7)
|
storage positions of the bitmap (0..7)
|
|
abyBitmap
|
ARRAY [0..7] OF BYTE
|
bitmap definition: each byte (0 (top)..7 (bottom)) represents on line; each bit (0 (right)..4 (left)) of a byte represents one pixel in the line
|
METHOD Home
This method is used to home the cursor to the upper left corner
return value: none
return value: none
METHOD MoveLeft
This method shifts the content of the display about one char to the left
return value: none
return value: none
METHOD MoveRight
This method shifts the content of the display about one char to the right
return value: none
return value: none
METHOD SetCursor
This method sets the cursor to a specified position
return value: none
return value: none
|
Name
|
Type
|
Comment
|
|
usiColumn
|
USINT
|
column to place the cursor (0..15)
|
|
usiRow
|
USINT
|
row to place the cursor (0,1)
|
METHOD SetText
This method sets the content of the display (unspecified characters are left unchanged)
return value: none
return value: none
|
Name
|
Type
|
Comment
|
|
sLine1
|
STRING
|
first line
|
|
sLine2
|
STRING
|
second line
|
METHOD Write
This method writes text at the current position
return value: none
return value: none
|
Name
|
Type
|
Comment
|
|
sText
|
STRING
|
string to write
|
METHOD WriteCustomBitmap
This method writes the specified custom bitmap at the current position
return value: none
return value: none
|
Name
|
Type
|
Comment
|
|
byLocation
|
BYTE (0..7)
|
storage positions of the bitmap (0..7)
|
PROPERTY Backlight: BOOL (SET)
Sets the backlight on or off
PROPERTY Blink: BOOL (SET)
Displays or hides the blinking rectangle
PROPERTY Cursor: BOOL (SET)
Displays or hides the cursor
PROPERTY Display: BOOL (SET)
Switches the display on or off
SPI
The PiFaceCad function block Extends the SPI function block, and so we need to understand a little about this function block too. This documentation is lifted from the Raspberry Pi Peripherals library.
This function block is the base class for SPI devices controlled via the SPI device /dev/spidev0.0. It is meant to be extended by other function blocks that overload the body and the following methods/properties and replace it with their specific implementation, always including a call of the base implementation with super^.<MethodName>() :
body (general handling, start-up)
AfterReadInputs (reading input data)
BeforeWriteOutputs (writing output data)
Initialize [optional] (used to read parameters from the configuration)
Operational [optional] (used to signal the status of the device)
The body of this FB is called by the methods AfterReadInputs and BeforeWriteOutputs, where _xAfterReadInputs indicates the caller. Use _iState to control your statemachine. A value of 10 by default indicates that the device is operational. Do not forget to call the base implementation with super^(), where the diagnosis indicators are set according to the Operational property.
Hello World
So now we know something about the methods on the PiFaceCaD Function Block we should be able to write a Hello World program.
PROGRAM PLC_PRG
VAR
xUpdate: BOOL := TRUE;
END_VAR
IF PiFace_Control_Display.Operational AND xUpdate THEN
PiFace_Control_Display.Clear();
PiFace_Control_Display.SetText(sLine1 := ‘Hello World’, sline2 := ”);
xUpdate := FALSE;
END_IF
Go online and run the application, you should see this
Reading Switches
All of the switches on the PiFace Control and Display board are output as bits within a single byte on the PiFaceCaD function block. The bits are numbered as shown
The sample code below demonstrates reading the switches
PROGRAM PLC_PRG
VAR
xUpdate: BOOL := TRUE;
byLastSwitches : BYTE;
bySwitches : BYTE;
END_VAR
bySwitches := PiFace_Control_Display.bySwitches;
IF bySwitches <> byLastSwitches THEN
xUpdate := TRUE;
END_IF
IF PiFace_Control_Display.Operational AND xUpdate THEN
PiFace_Control_Display.Clear();
PiFace_Control_Display.Backlight := TRUE;
PiFace_Control_Display.SetText(sLine1 := ‘Hello World’, sline2 := BYTE_TO_STRING(bySwitches));
xUpdate := FALSE;
byLastSwitches := bySwitches;
END_IF


